You can create a group by following these steps.
Go to Organize > Manage My Groups, then click New group.

A new window will pop up.
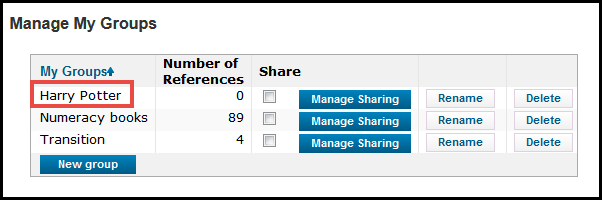
Enter the name of your new group, then Ok.

Your new group will now appear in My Groups list.
Any group that you create in EndNote Web (called My Groups) can be shared with others. The people who you wish to share references with must already have (or be able to create) an EndNote Web account in order to access them.
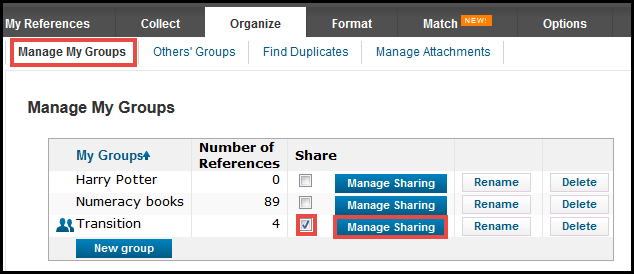
Go to Organize > Manage My Groups
Tick the box in the Share column next to the group you wish to share.
Click Manage Sharing.
A new screen opens.
Click Start sharing this group.
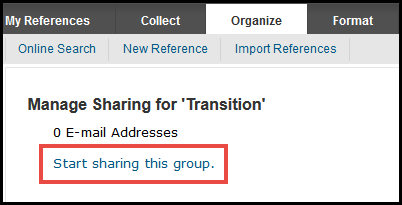
Enter the email addresses of those people with whom you wish to share the references in that group.
Note. The people who you wish to share your EndNote Web group with must already have (or be able to create) an EndNote Web account in order to access the group folder.
Choose to allow each person either Read only or Read & Write access to the group.
Note. Read only will allow the person to view and use the reference only; Read & Write will allow the person to edit reference data and remove the reference from the shared group (but not your library).
Click Apply.
Note. Attachments are not shared, regardless of access privileges.

When each person that you have shared the group with logs into their EndNote Web account, they will need to go to Organize >
Others' Groups to see the group that you have shared with them.
They can then choose whether or not to;
a. show the group in their reference list; and
b. make the group available to them through the EndNote Web Cite While You Write feature in Word.
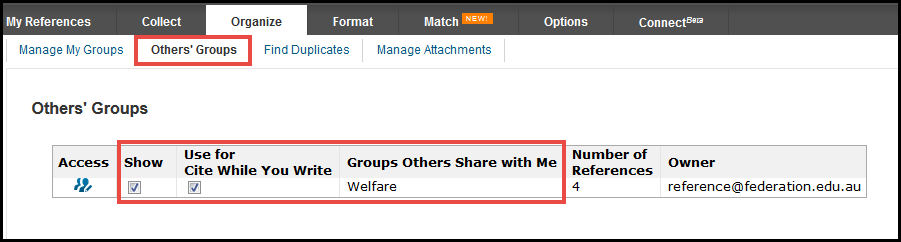
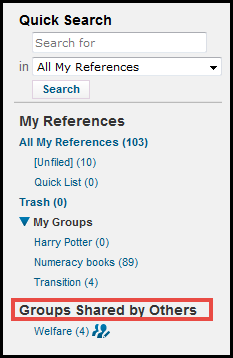
Once the Show checkbox is ticked, the group will appear on the My References tab, under the heading Groups Shared by Others.